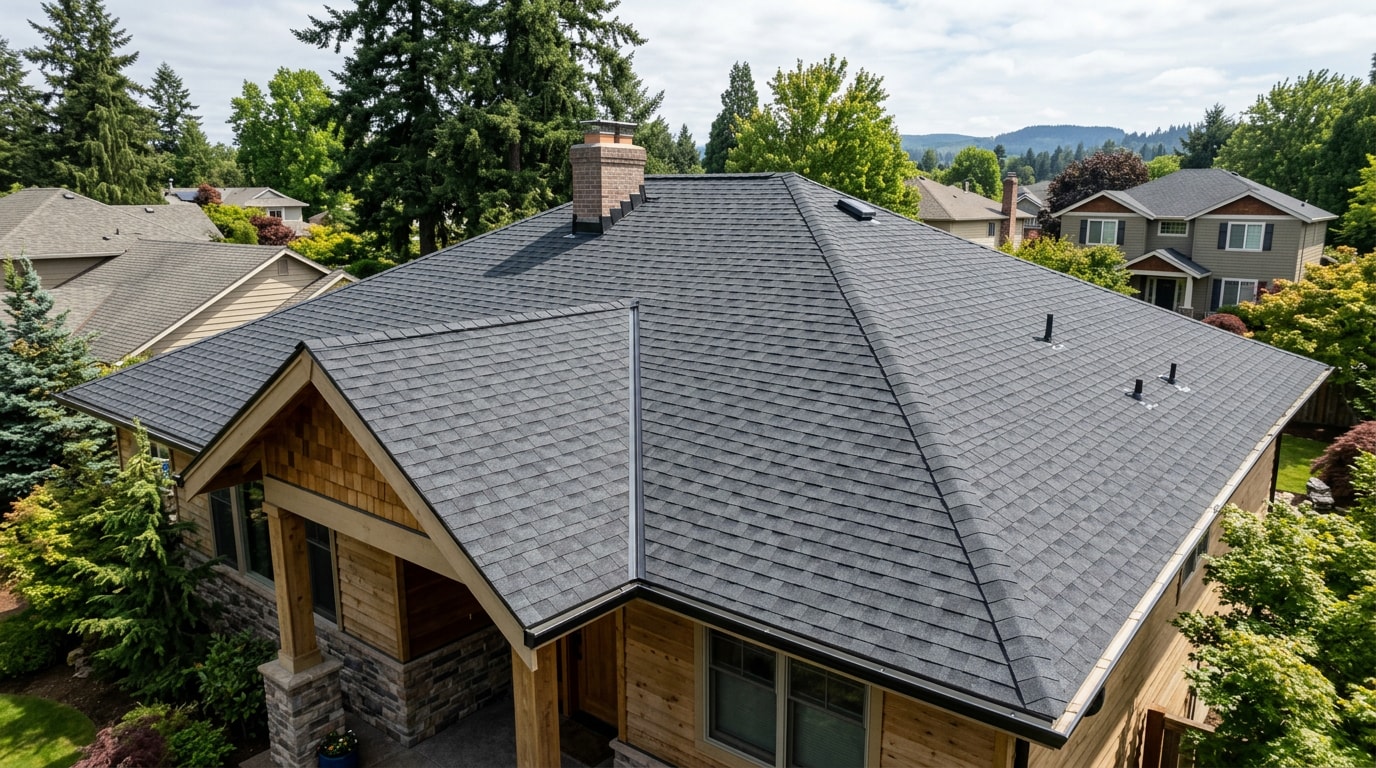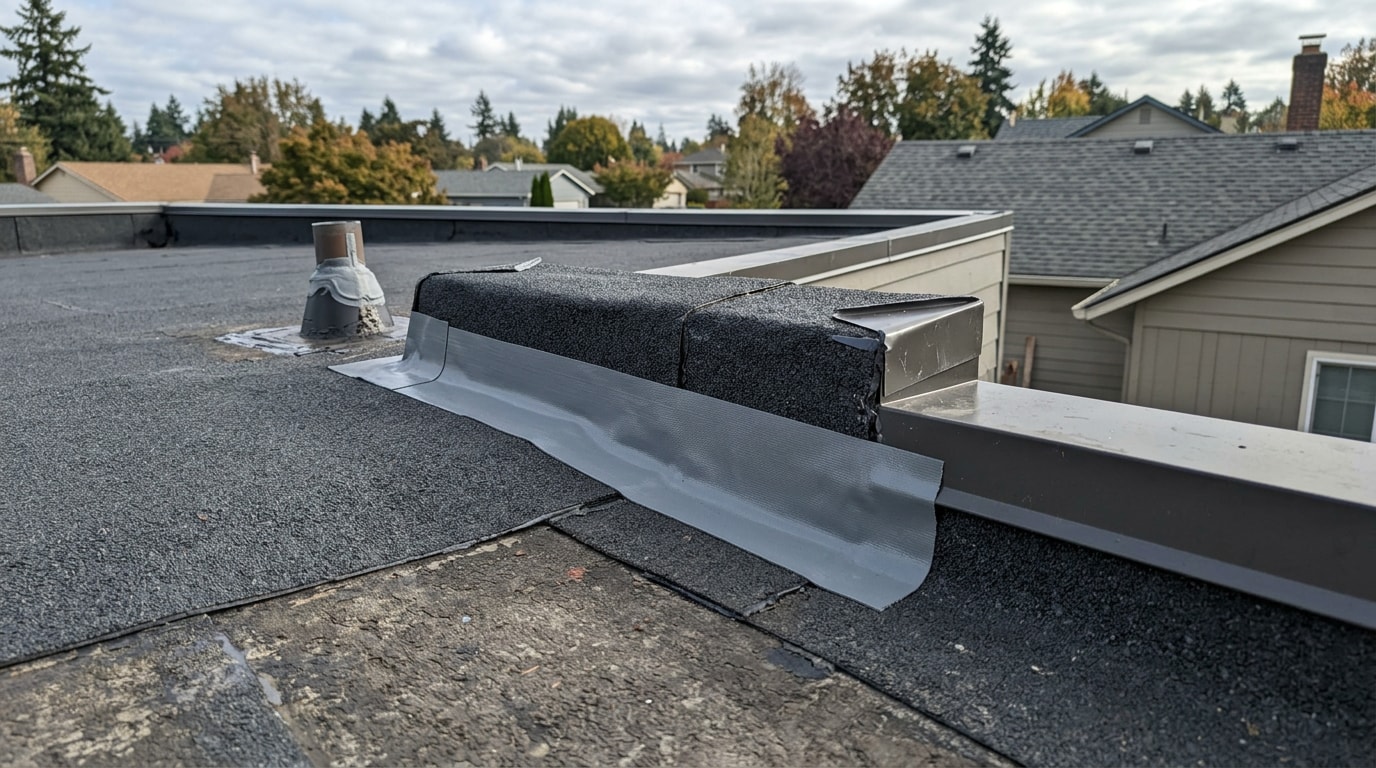
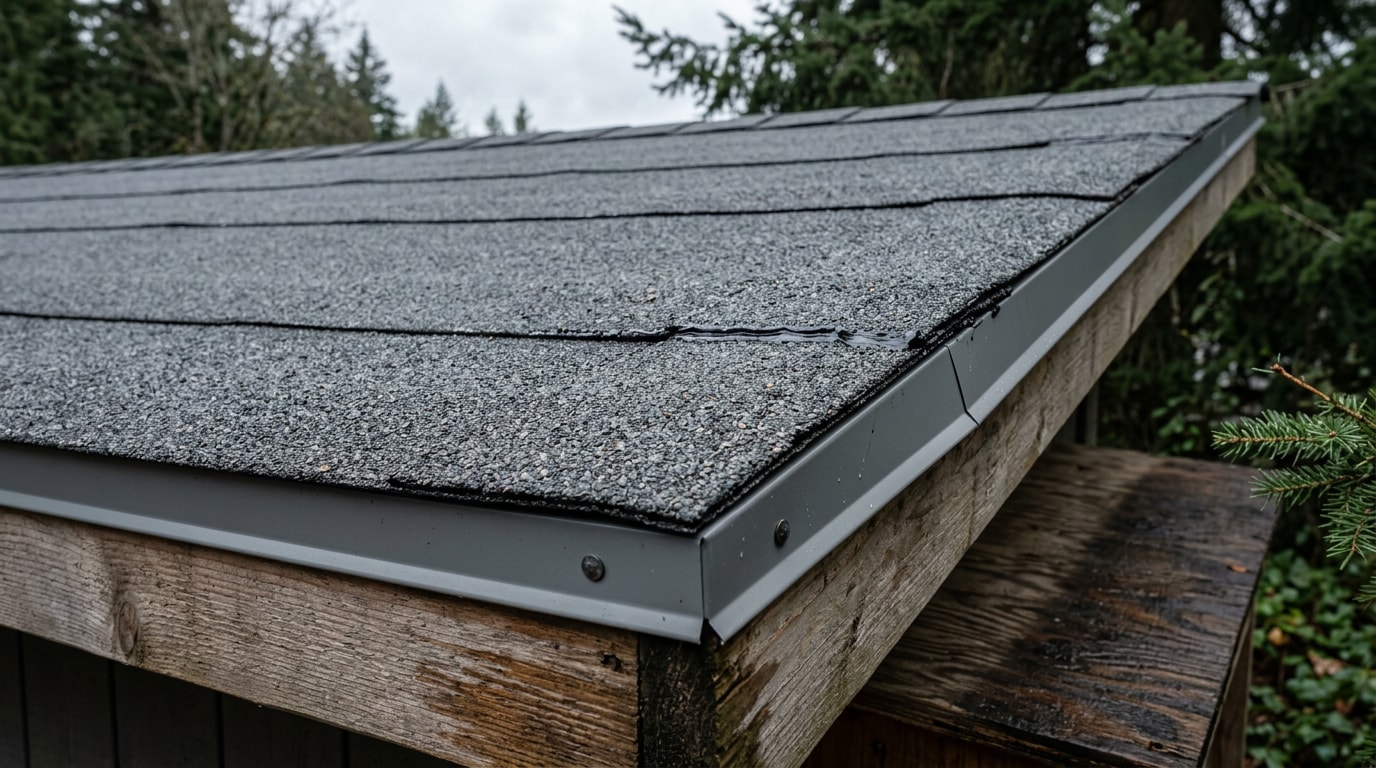
Learning how to install roll roofing in Tigard, OR is a realistic weekend project if your structure is a shed, porch, or small addition with a low-slope deck. The process comes down to six repeatable steps: prep the deck, set the drip edge, snap chalk lines, bed each course in cement, nail it down, and seal every seam. Get those steps right and the roof holds up through a wet Willamette Valley winter; rush them and you'll be patching leaks by spring.
This guide was checked by Josh Carter, lead estimator at West Coast Roofers & Gutters, who has inspected and repaired roll-roofing jobs across Tigard, Beaverton, and the greater Portland metro for years. The single most common failure he sees on DIY jobs isn't a bad overlap, it's a skipped bead of cement at the nail heads.
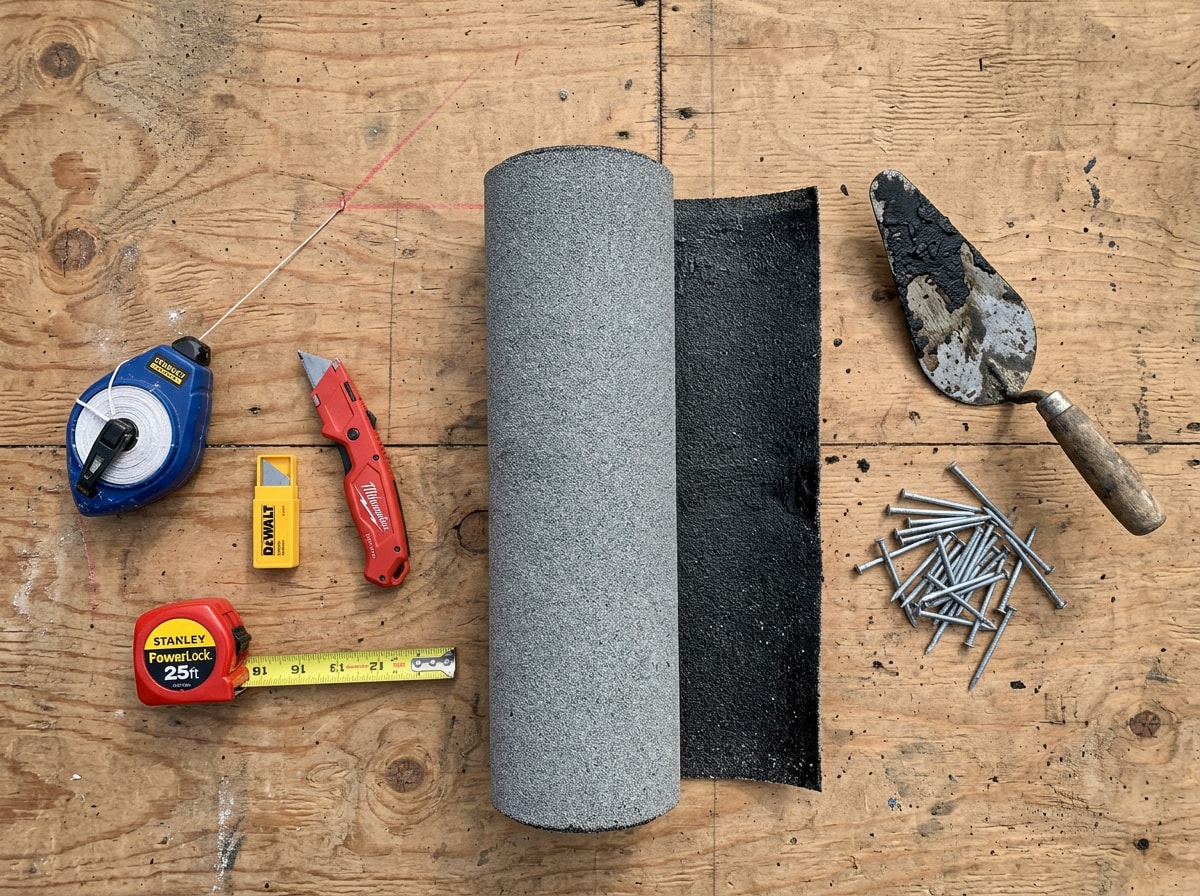
Tools and Materials You'll Need
Buy everything before you climb the ladder. A mid-project hardware run on a low-slope roof usually means standing on cold asphalt cement while it starts to skin over.
Tools:
- Chalk line
- Utility knife with extra blades
- Hammer or roofing nailer
- Tape measure
- Stiff broom
- Trowel for spreading cement
- Sturdy extension ladder
Materials:
- Mineral-surfaced roll roofing (measured area plus 10% waste)
- Galvanized roofing nails
- Asphalt roofing cement
- Metal drip edge
- Roofing underlayment, if your deck needs it
- Roofing gloves
If your project is bigger than a shed or porch and you're weighing roll roofing against a full tear-off, our roof replacement team can walk through material options before you buy anything.
Step-by-Step: How to Install Roll Roofing
Every reputable installation guide follows the same sequence, deck prep, drip edge, chalk line, cement, first course, second course, seal. The steps below walk through each one in order.
1. Prep the Roof Deck
Sweep off all debris and pull or hammer down any protruding nails. Check the sheathing for soft spots or rot and replace damaged sections before anything new goes down.
A clean, dry, flat deck matters more than any other single factor. Dust, grit, or old granules left on the surface will weaken the cement bond within a year or two.
2. Install the Drip Edge
Attach metal drip edge along the eaves and rakes before laying any roofing material. Overhang the edge about 1/4 to 3/8 inch past the roof deck so water drops clear of the fascia and into the gutters instead of running behind it.
If your drip edge is feeding into gutters that are already clogged or sagging, it's worth a quick gutter inspection before you finish the roof, since a backed-up gutter undermines the drip edge's whole job.
3. Snap the Chalk Line
Measure 35 inches up from the eave at both ends of the roof and snap a chalk line between the marks. Use this line, not the eave itself, as your guide, since eaves are rarely perfectly straight.
4. Apply Roofing Cement
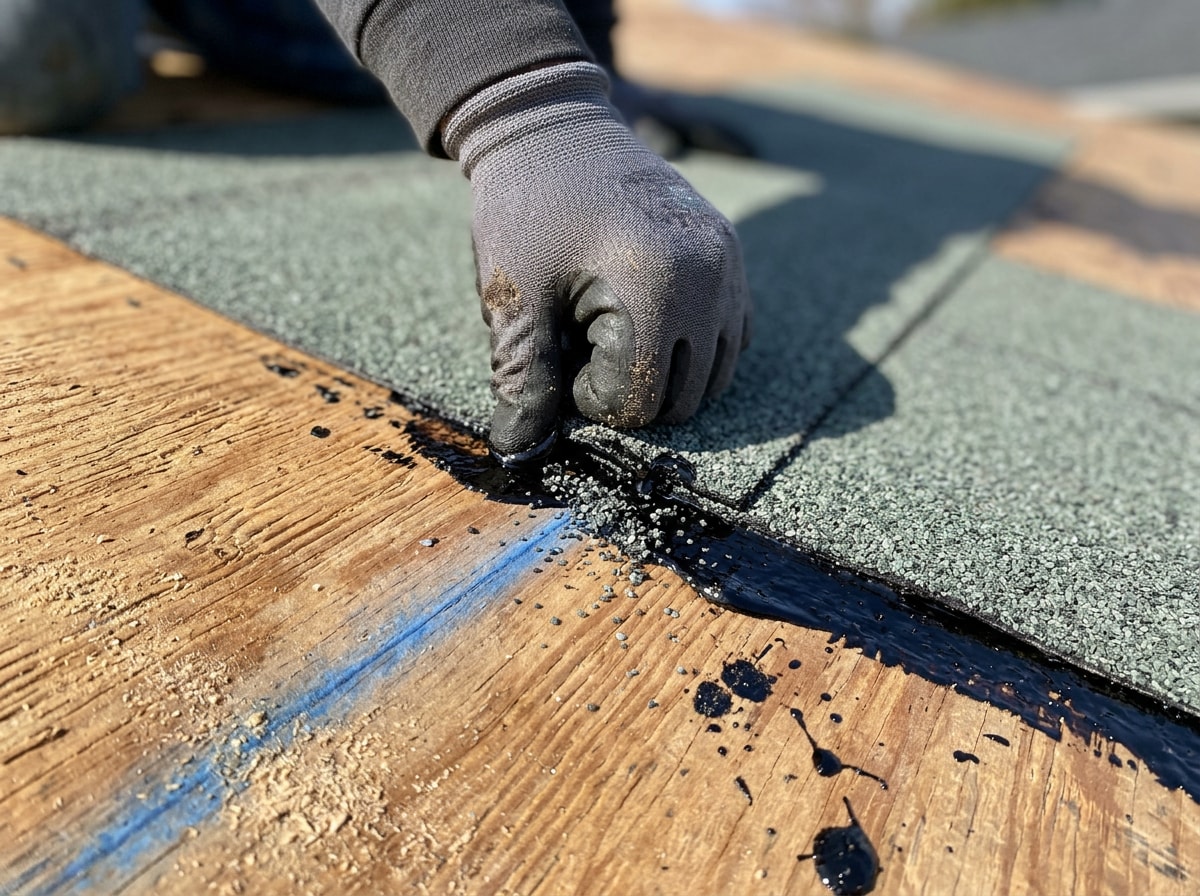
Spread roofing cement about 1/8 to 1/4 inch thick along the eave and edges where the first course will sit. The cement, not the nails, is what actually makes the seams watertight.
5. Cut and Lay the First Course
Cut your roll roofing to fit the roof's width with a utility knife, measuring twice before you cut. Align the piece with the chalk line, press it into the wet cement, and smooth out air bubbles as you go.
Nail along the edges every 6 to 10 inches, keeping nails about 1 inch from the material's edge so they don't tear it. Work in one direction across the roof so each section lines up with the last.
6. Add the Second Course
Snap a second chalk line roughly 32 inches above the first, which gives you at least 4 inches of overlap between courses. Repeat the cement-and-nail pattern, working up toward the ridge one row at a time.
7. Seal Every Seam and Nail Head
Once the courses are down, go back over every nail head, edge, and seam with a final layer of roofing cement. This finishing pass is the step most DIYers rush, and skipping it is the single most common cause of an early leak.
Take the extra twenty minutes here. It's far cheaper than a repair call in January.
Roof Pitch Limits and Tigard Permit Rules
Roll roofing only works within a narrow slope range, and pushing past it is a code violation, not just a bad idea. Under the International Residential Code, mineral-surfaced roll roofing is limited to roof slopes of 1:12 or greater, while steeper roofs require a different covering entirely.
| Roofing Material | Minimum Slope (IRC) |
|---|---|
| Mineral-surfaced roll roofing | 1:12 |
| Asphalt shingles | 2:12 |
| Clay or concrete tile | 2.5:12 |
| Metal panels (lapped, non-soldered) | 3:12 |
| Slate | 4:12 |
Check your roof's pitch against this table before you buy a single roll. If your structure is above roughly 2:12, shingles or another steep-slope material, not roll roofing, is the code-compliant choice.
Permit rules add another local wrinkle. The City of Tigard doesn't require a building permit for re-roofing in most cases, but that exemption only applies where the replacement or repair doesn't exceed 30% of the roof's required live load design capacity. Larger jobs, new sheathing, or work on accessory structures over certain size thresholds can trigger a permit, so it's worth a quick check with Tigard's Building Division before you start, especially if you're covering more than a small shed or porch.
For projects outside this specific case, our Tigard, OR service area page covers how we handle local permitting and inspections on larger roofing jobs.
Safety Considerations
Roof work carries real fall risk even on single-story structures. Wear slip-resistant footwear, keep the ladder on firm, level ground, and avoid working alone whenever possible.
Maintain three points of contact on the ladder, don't overreach, and skip the project entirely in wet or windy conditions, since wet cement and a wet deck are both slippery. OSHA's residential fall protection guidance covers when guardrails, safety nets, or personal fall arrest systems are appropriate, and it's worth ten minutes before you start, particularly if the structure is taller than a typical shed.
How Much Roll Roofing to Buy
Measure each roof plane separately by multiplying length by width, then add the totals for your overall square footage. A standard roll covers about 100 square feet, so divide your total by 100 to estimate how many rolls you need.
Add a 5 to 10% waste buffer for cuts, overlaps, and mistakes. If the numbers feel off, our roof replacement page can help confirm quantities before you commit to a materials order.
When to Call a Licensed Roofing Contractor
Roll roofing works well as a DIY project on sheds, small additions, and other compact, low-slope structures. Once the roof gets larger, the pitch creeps toward the upper limit, or there are multiple penetrations like vents and skylights, the math shifts toward hiring a pro.
A few hundred dollars in labor can save a weekend and a potential redo if the first attempt fails inspection or leaks. West Coast Roofers & Gutters handles everything from small roll-roofing repairs to full roof replacement across Tigard, and our crews also catch issues DIYers miss during a standard roof inspection. If your main house roof is showing wear alongside the project you're tackling, our guide on asphalt shingle roof repair in Tigard, OR breaks down when repair makes sense versus full replacement.
Ready to get a second opinion before you buy materials? Get a free estimate from our team, and we'll tell you straight whether DIY or a licensed crew makes more sense for your specific roof.
FAQ
How long does roll roofing last?
Most roll roofing lasts somewhere between 5 and 15 years, depending on installation quality, sun exposure, and how well the seams and nail heads were sealed. Proper cement application at every seam and regular inspection push lifespan toward the higher end of that range.
Can you install roll roofing over shingles?
It's technically possible but not recommended. Roll roofing needs a flat, clean surface to bond properly, and the uneven texture of old shingles creates air pockets and weak spots that shorten the new roof's life.
Does roll roofing need adhesive?
Yes. Asphalt roofing cement is required to seal overlaps, edge strips, and any penetrations like vents or pipes. Nails hold the material in place, but they can't waterproof a seam on their own.
Do you nail roll roofing?
Yes, galvanized roofing nails are the standard fastener. Nails go along course edges at consistent spacing, and cement gets added afterward to seal each nail head against moisture.
What is the minimum roof pitch for roll roofing?
Under the IRC, mineral-surfaced roll roofing is rated for slopes of 1:12 or greater. Below that, water doesn't drain fast enough and the material is prone to ponding and premature failure.
Do I need a permit to install roll roofing in Tigard?
Usually not for small re-roofing jobs, since Tigard exempts re-roofing where the work doesn't exceed 30% of the roof's required live load design capacity. Larger projects, new sheathing, or certain accessory structures can still require a permit, so check with the city's Building Division first.
Still unsure whether your roof qualifies for a DIY roll-roofing job? Contact West Coast Roofers & Gutters and we'll help you figure out the right approach for your Tigard property, whether that's a quick repair, a full roof replacement, or simply confirming your roof pitch meets code. You can also browse our recent projects or visit our homepage to see the full range of roofing and gutter services we offer across the Portland metro.